
1. Because its on the "challenge"list
2. I'm playing quite a bit of dreadzone and with two painted forces I decided to crank on with the terrain
3. After seeing a couple of vids on you tube I wanted to try out some new bits I'd picked up
4. I've been "selected" to go play test mars attacks this weekend at Mantic towers and it'd be rude not to at least have something painted!
so the vids that I've been watching are from two guys, one being templars crusade 01, the man is a machine when it comes to painting and more of his stuff that he paints is 30K forgeworld so looks great as well! The other from Rob on voodoo ork who happens to work for Prodos Games who are doing Aliens verses Predator this coming may(ish)
Templars Crusade 01
The voodoo ork
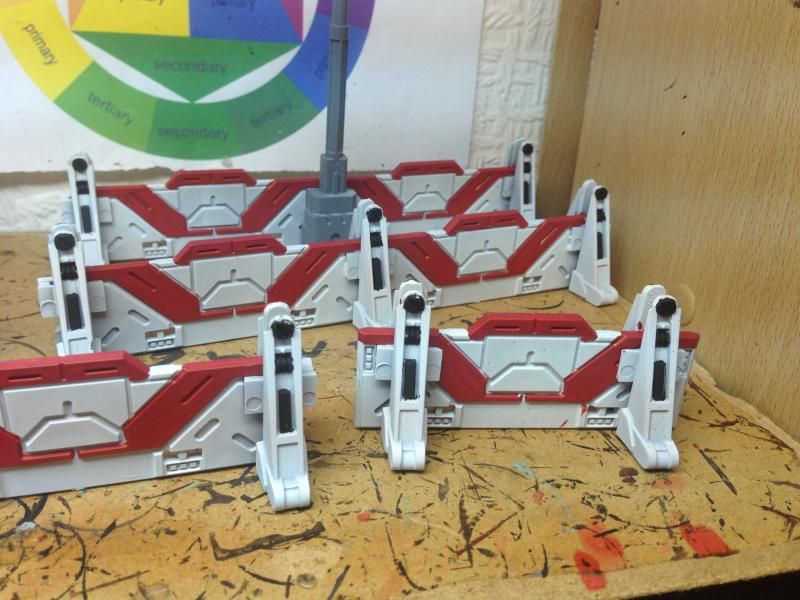
So I did the basic colours with a white spray and some red bits to break up the barriers, with a little bit of black detail.
then it was a brown/black mix sponged on for the "battered" look that I did with all the crates last month
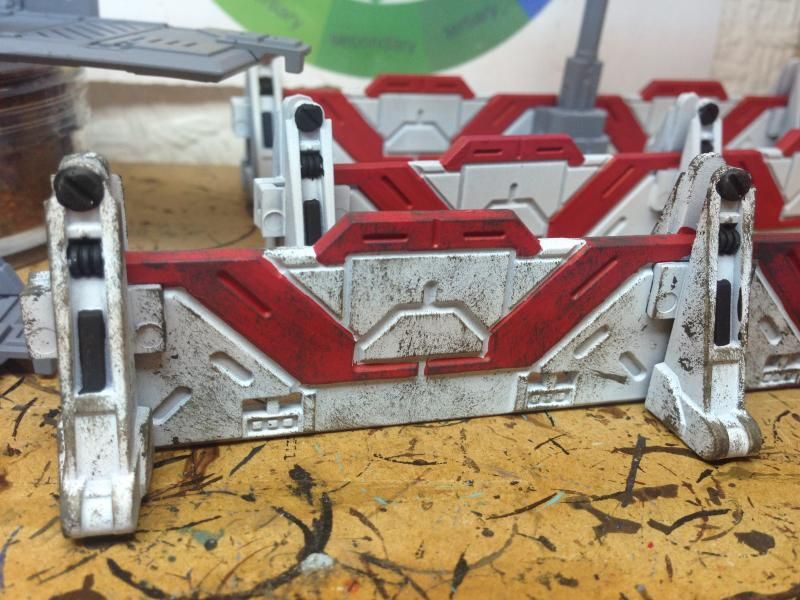
as the surfaces are quite flat I just simply went for it being semi gentle with how much weathering I was doing, then simply did the same again with a gunmetal colour
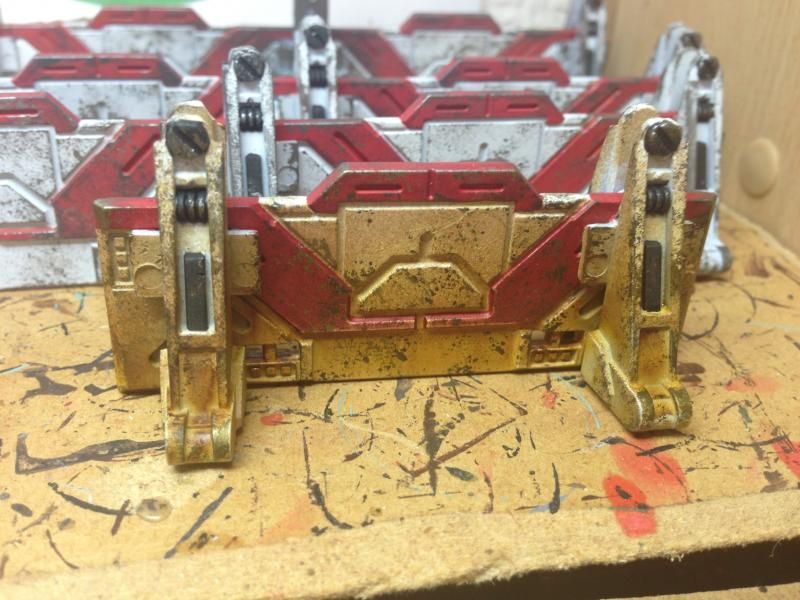
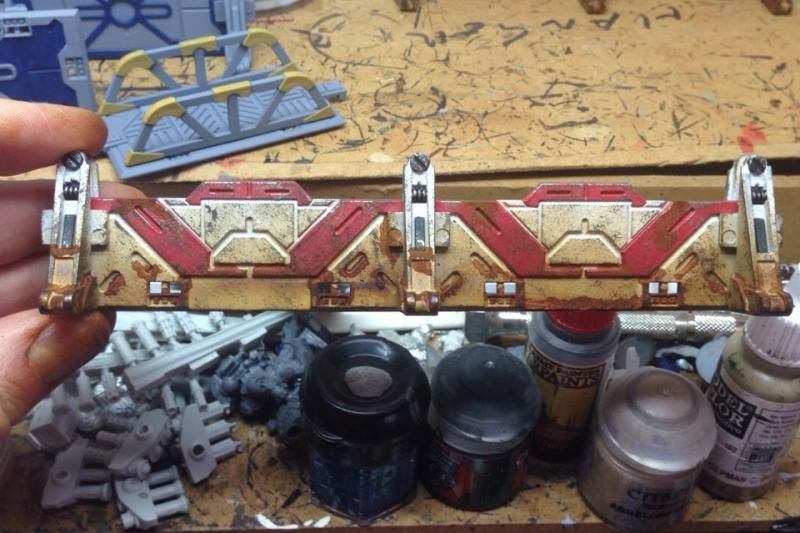
then I hit it with the modelmates rusty red weathering spray,
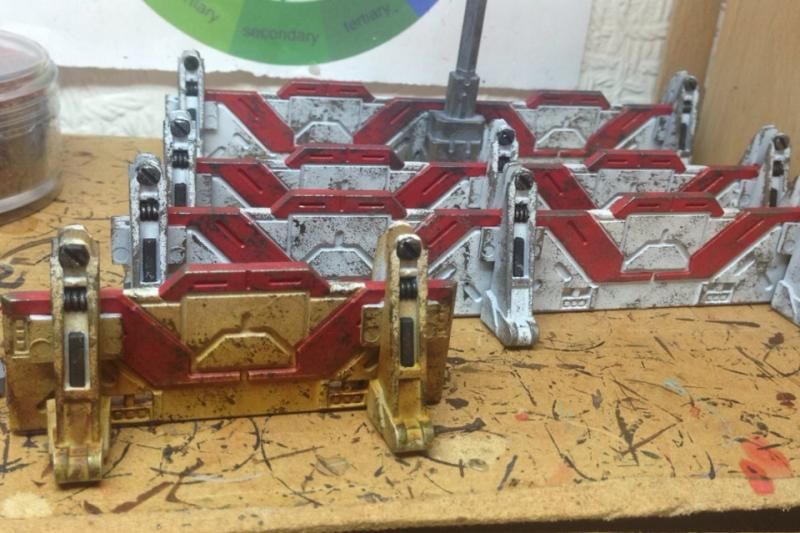
and comparing to the unsprayed barriers,
I decided to use the old aged saying when it comes to me and my wargaming "Fuck it lets do them all!"
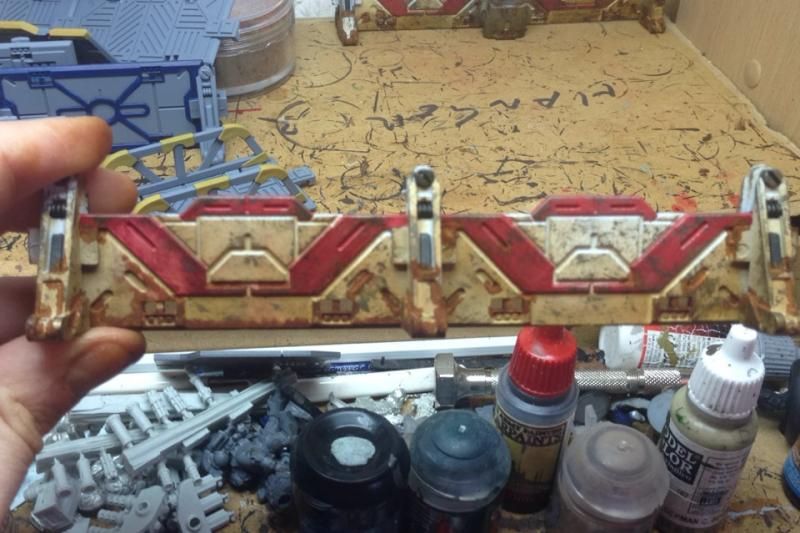
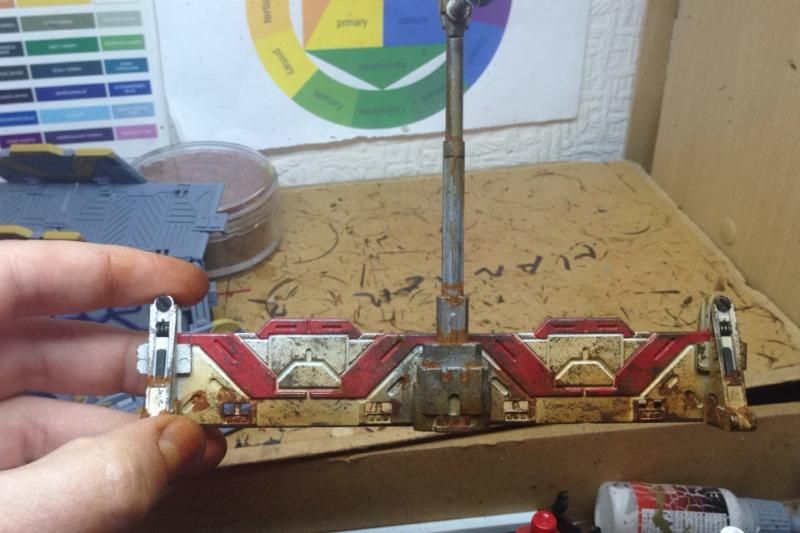
One thing that I did learn from the initial piece was that if you sprayed only half on the barrier at an angle you could get a graduation effect only at the bottom so leaving some of the original colour at the top, once they had dried which was within minutes I get the liquid rust effect that I used on the knocked KV2 and picked out various areas,

And the whole lot together,
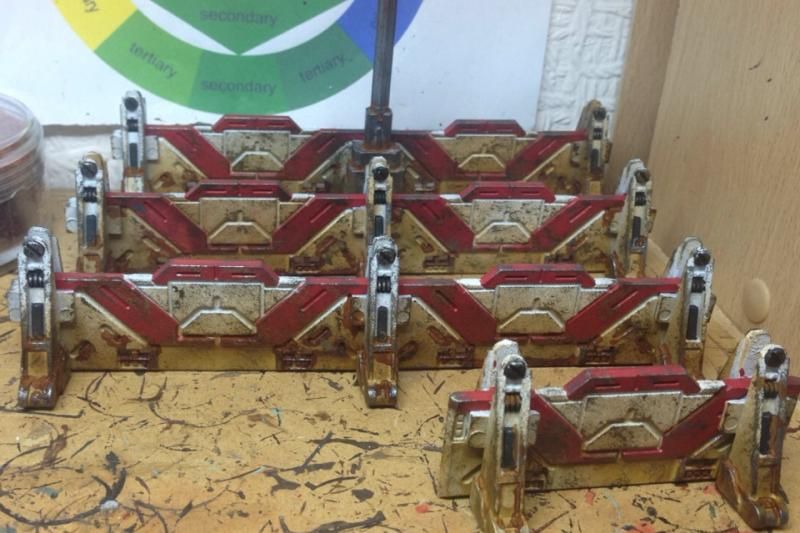
overall I'm really happy with how these have turned out, and when I posted them up on the containment protocol facebook page the response was tremendous and was asked for a "how to" hence this post!
So with a successful trial on these its onto the main buildings, I've sprayed these army painter grey uniform so it'll be another "humm lets give this a crack" situation!
Great work, well done!
ReplyDeletethanks, glad you like them,
DeleteThats fantastic, they really look great. Thanks for taking the time to show a step-by-step too. Very helpful. Im going to have to buy some of those products.
ReplyDeleteDont forget to treat us with a photo of the whole lot of the painted scenery with some painted troops doing their thing when its finished please :)
not a problem, the model mates stuff is superb and well worth the money,
DeleteDon;t you worry about seeing the whole lot togeather its being sort shortly
These look great!
ReplyDeletewhy thank you ;)
DeleteVery nice and thanks for sharing the painting steps!
ReplyDeleteKind regards
http://wargameterrain.blogspot.be/
pleasure, if you want to steal the how to for your site go for it
Delete